You are here is because you want to create messenger bot, your first chatbot, or maybe you have already tried to create it and want to improve your chatbot’s responses with artificial intelligence.
Great! You are in the right place!
Today I’m going to show you exactly how to do it!
We will build a chatbot using ChatFuel (2018 version). The best thing you will find in this article? You will need very little time to create your messenger bot: just half an hour and it will be ready!
First of all, if you want to learn how to set up your bot perfectly, you can access the first 3 video lessons updated to April 2020 for free from here:
https://www.comunicarekairos.it/corsi-marketing-comunicazione/corso-completo-chatfuel-2020.html
But let’s take a step back.
What is a chatbot?
Chatbots are programs that mimic conversation with people through the use of artificial intelligence. Simply put, when someone types a message, the bot responds (or should respond 😉 with the right phrase. Of the thousands of chatbots that exist today, most are messaging apps designed to communicate with customers. They work with Natural Processing Language (NLP) systems that translate everyday language into a form the bot can understand. But that’s not all! Bots, if programmed well, can even learn new words and interact accordingly.
Amazing, isn’t it?
With the help of this technology, bots now have endless possibilities for use. You can use them to read everyday news, transfer money, purchase your favorite items, schedule a meeting, or even get assistance. And all from the convenience of your favorite messaging app, which can be messenger or telegram for example.
People currently spend more time on messaging apps rather than social media. Many companies have noticed this trend and are leveraging chatbots as a new channel to talk to users. The latest findings tell us that 60 percent of online adults in the United States (I am using the United States as an example because there is more research on this) use online messaging services, voice or video chat.
It is thought that by 2020 we will have more conversations with robots than with our current spouses 😉
Before we go any further watch this video to understand the reasons why you should have a bot in your marketing strategy.
Create messenger bots with ChatFuel
But let’s get straight to the point. In this article I want to give you a mini-guide that, step by step, will lead you to create messenger bots without coding and avoiding the most common mistakes.
In this tutorial we will use ChatFuel to create a simple bot and we will see:
- The dashboard
- The interface
- Welcome and default message
- Groups and blocks
- Quick replay and buttons
GETTING STARTED!
01 The Dashboard
Let’s start by looking at how it works and how to create a BOT. First, let’s go to chatfuel.com.
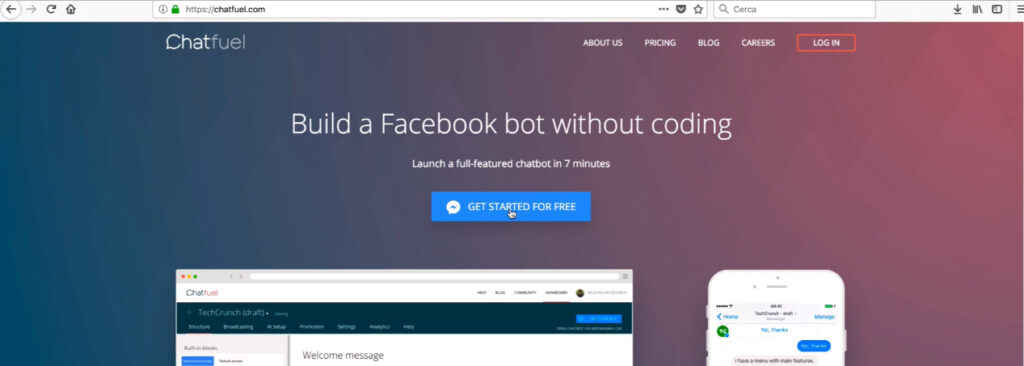
It will ask you to log in with your Facebook profile, then you can click on the blue “Get Started for free” button. If you have already created other bots go directly to login.
This way we get inside the platform, we do not, therefore, need to download programs to run our Bot, but we can use it online from different locations.
Let’s start by looking at what we have available.
First of all, in the top menu, we have Help, which takes us to a documentation section to delve into the different features: how to get started, plug-ins, broadcasts, artificial intelligence, etc., etc.
We go back to our interface and see that we have Blog. It takes us to a section where we can read the latest news about the platform, various information and news.
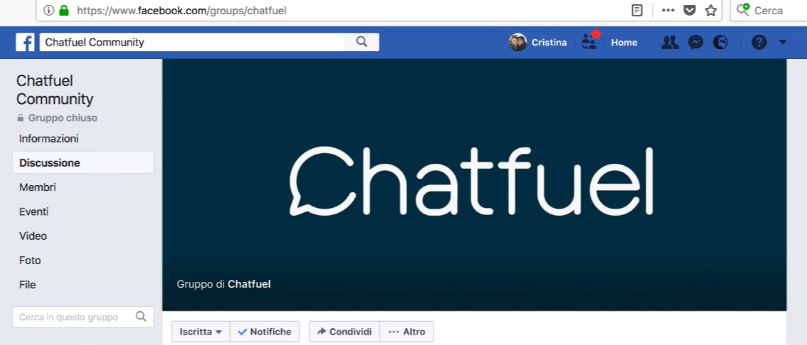
Another section in the top menu: Community, which takes us to the official Facebook group of the Chatfuel community. If you want to join an Italian group you can do so by clicking here: ChatFuel Italy
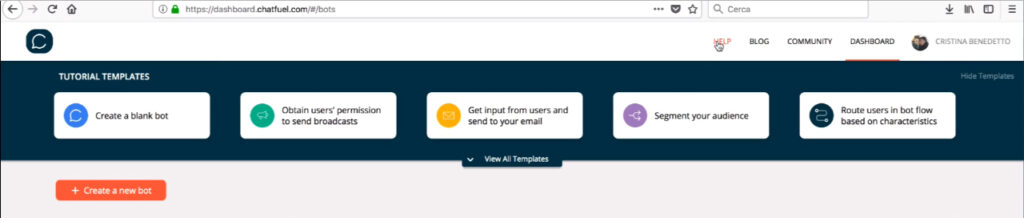
Finally we have the Dashboard.
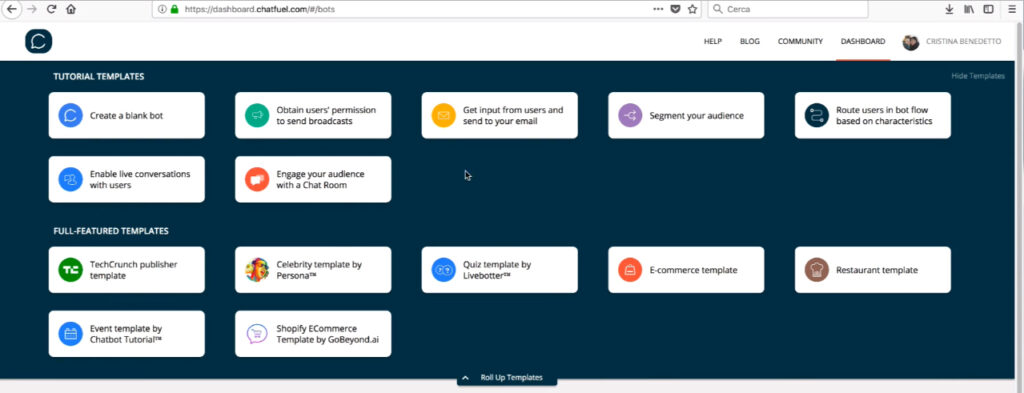
Here we have the template tutorial with several buttons: the first one is for creating a new empty bot, all the others are preset templates that we need to already have a base from which to create a bot.
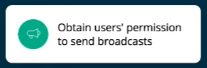
For example, the second button allows us to create a structure in which we can ask users’ permission to send them messages.
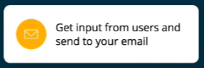
The third, on the other hand, allows us to ask users for information and then send them emails.
The fourth button, on the other hand, allows us to create a segmentation, then segment our audience–and so on.
In addition, if we click on “View all Templates,” a number of other custom templates open up.
There are preset templates for creating e-commerce, or templates for creating a bot for a restaurant, and so on. Now what we are interested in to create a new bot, is to click on the first button or directly on “Create New Bot”.
02 The interface
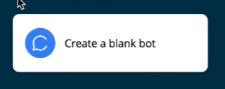
So let’s start creating our bot by clicking the “Create a blank bot” button, or the orange “Create a new bot” button.
There is a very small difference between the two: with the white button we will have preset simply the Welcome Message and Default Responses. With the orange one we have not only the Welcome Message and Default Responses but also a sequence example and a group example with blocks.
Now let’s start to see how our interface is structured, and let’s start with the left column. Here we have a series of tabs that we will now quickly look at and then go on to analyze one by one.
Let’s look at the “Automate” tab. Over time Chatfuel has changed several things, as it kind of does with all programs, and previously this tab was called Build. Anyway, this is the space in which you’ll be working most of your time. This is where you’re going to unleash all your creativity, and then we’ll see how.
“Set Ap AI”: this tab allows us to set the artificial intelligence. Here we will teach the Bot how it should behave based on what the user does and says. One first thing I suggest you do is to set the language. So if we are in Italy, we choose the Italian language.
This is very important because this way the artificial intelligence can understand what your user is saying and can search for similar expressions to respond appropriately.
The “People” tab, is a brand new feature, in fact it is still in the beta version and gives Bot administrators a top-down view of the list of subscribers. It also allows users to segment and edit their attributes.
“Broadcast”: here we talk about broadcast messages precisely, which by now are known to most, and allow us to reach out to specific users to invite them to interact with our bot.
“Configuration”: here we can configure different aspects of our bot. For now the thing we will do is simply associate it with our page. So we can create a new Facebook page to associate with this bot, or we choose a page that we want to associate this particular bot with.
For these demonstrations I connected my bot to the page I had already created “Chatbot Italia.” Once a page is connected we can also disconnect it at any time.
Another tab is “Grow”: this one will allow us to grow, that is, develop our bot, integrating it with new tools.
“Analyze”: this tab allows us to look at statistics and metrics, to understand how our bot is doing and then improve it accordingly, if it needs to be improved. You can only see the results after reaching 3 users.
A little further down we have “Updates” which allows us to see what is new in Chatfuel. The red dot indicates to us that there are unread news, once we click the red dot disappears.
A little further down we can log out.
03 Welcome and Default Message
Suppose we have chosen to create an empty bot.
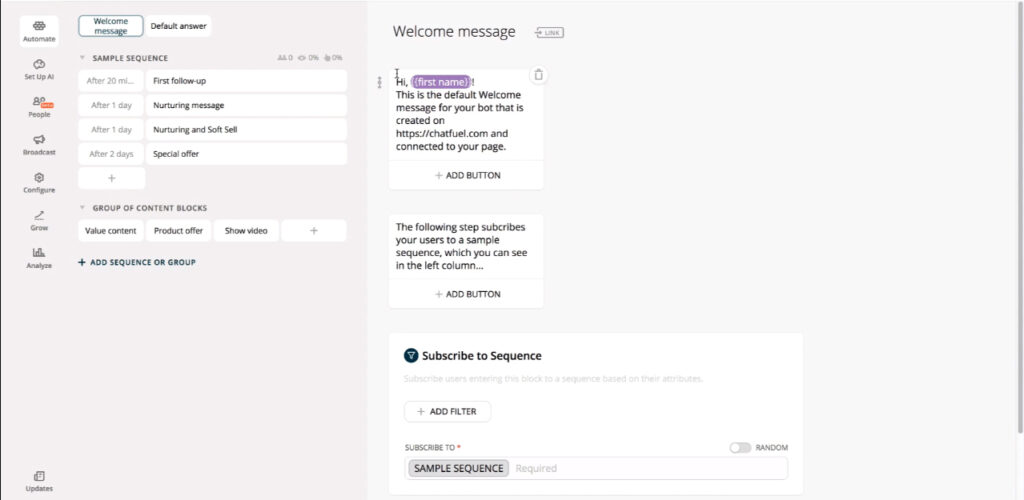
Let’s go to the first tab, the automation tab, and here we can see that it is actually not completely empty. In fact, it already contains some basic elements, which are the Welcome Message and the Default Response. These two are the only mandatory elements of a bot.
The welcome message, if we want to make a comparison with something we are already familiar with, which are websites, is a bit like the home page of a website. It is the first message that the user sees when they come in contact with your bot. This block therefore is very important to make a good impression right away.
It can be used primarily for two things and one does not exclude the other:
- to tell the reasons why the bot was created and thus the functions and benefits of using it
- tell how to interact with the bot, so what they should do, what buttons to press, what to do in case the bot gets stuck while navigating, and in case they need help.
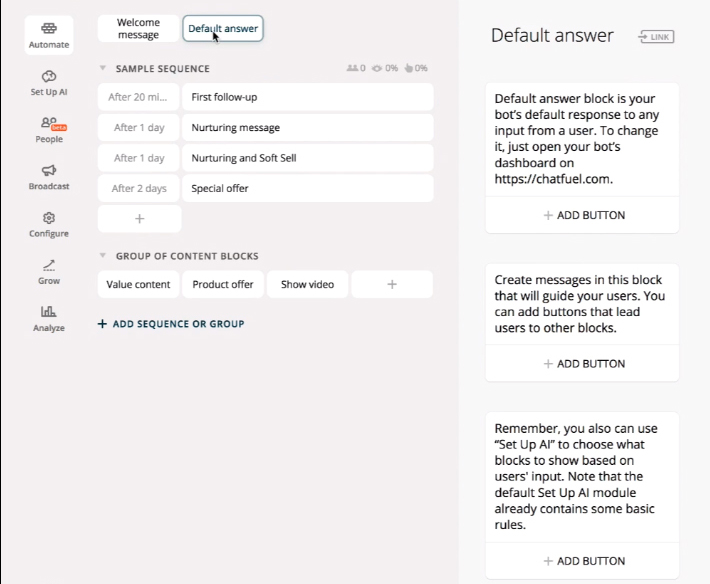
The default blocking, on the other hand, is like the 404 error, which is when you go to a page on the site that does not exist. Users will be redirected to this page when they do something that is invalid.
What I mean. Neil ebook with the complete course to create messenger bots with chatfuel I explain how to set up artificial intelligence in such a way that the bot will be able to recognize certain terms or expressions that the user can enter and respond accordingly. However, you can understand that the Italian language, and not only the Italian language, is made up of so many terms and to set them all would be impossible, so we will set only some of them, that is, the ones that our user will need in order to be able to continue browsing the bot. If that user enters other terms that the bot does not recognize we will direct him to the default response.
In this response you will be able to politely say that you do not recognize what it said and therefore you cannot understand it. At the same time you will give him a way to continue to be able to navigate your bot by, for example, inserting a button that takes him back to the home page, but we will see more about that later.
Now let’s set up two simple welcome and default messages. As we have already mentioned in reality our bot is not so empty. In fact it contains default tabs that we can use and change as we wish, or we can delete them by clicking on the trash can icon.

In this case we create a very simple Welcome message and Default message.
Let’s now move to the Default one, delete the cards we don’t need, and write, “I’m sorry, I didn’t understand what you told me.” For now we simply write this, but in the e-book I show how to expand it by adding the different cards.
Every time we finish setting something up, we try to test our chatbot.
04 Groups and blocks
Now let’s look at what groups and blocks are, and how to create them.
Blocks are groups of messages that are used to create interactions with users.
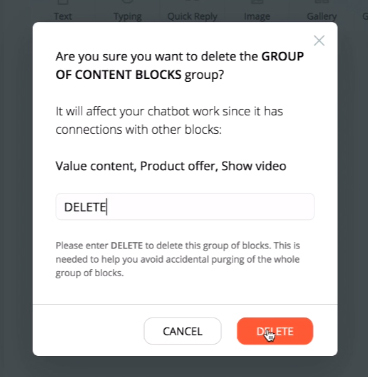
Now let’s see how to create them. First, I delete all the groups it gives me by default. Every time we delete a group, it asks us for special confirmation, that is, it asks us to write “delete,” so that we are sure we want to delete it, and we also delete the sequences it always gives us by default. Also when we delete sequences it asks us for the special confirmation as for groups.
Now we can create a new group.
To create a group just go to “add sequence or group” and click on “group.”
Here we have created a new group, which in this case we call “activities.”
In here we create a new block, which we call “fitness,” and in this block we enter some text, for example, “Do you know that we do fitness activities both in the gym and outdoors?”
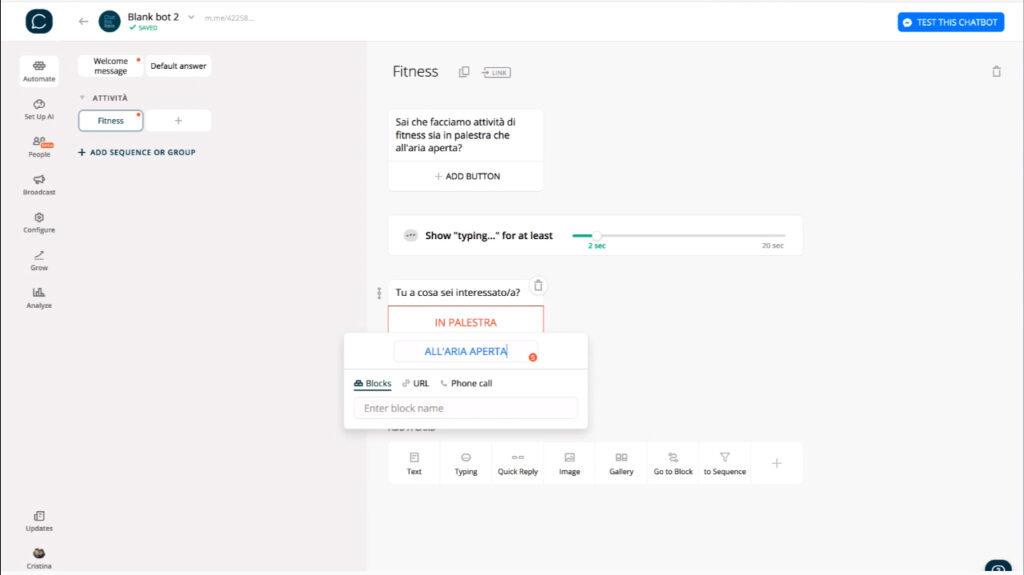
Then I add a “typing,” about 2 seconds long, then again a “what are you interested in?” text.
Finally we add a button, which we call “in the gym,” and a new button, which we call “outdoors.” These buttons will appear red to you because we have not linked them to anything yet.
Now let’s create the blocks to connect “in the gym” and “outdoors” to. So I go to “activities,” click on + and there it creates a new block, which I call “fitness in the gym” and then a new block which I call “outdoor fitness.”
In “fitness at the gym” I want to write “if you want information about our fitness activity at the gym call us to make an appointment.” Let’s also put little faces now and then. Here we are inviting them to call, however, where can they find our phone number? Simply in the button below + ADD BUTTON. These buttons can lead to a block, a url, or a phone number. Here we choose the country. I will choose “Italy” and here I will put my number “333 333 333”. We give this button a name, such as “call” and I press “enter.”