
Building an online store is no longer a complex task reserved for skilled web developers. With the advancements in technology, user-friendly e-commerce platforms have emerged, allowing entrepreneurs and small business owners to create their online shops quickly and easily. In this article, we will walk you through the step-by-step process of creating an e-commerce website using the easiest methods available.
Step 1: Define Your E-commerce Strategy
Before diving into the technical aspects, it’s essential to outline your e-commerce strategy. Determine what products you want to sell, your target audience, and your unique selling points. Research your competitors to understand the market landscape better. These insights will influence the design and functionality of your online store.
Step 2: Choose the Right E-commerce Platform
Selecting the right e-commerce platform is the foundation of your website-building process. Several platforms are designed specifically for beginners and offer intuitive interfaces. Among the popular and user-friendly options are Shopify, WooCommerce, and Rentle.
Shopify: Known for its simplicity and ease of use, Shopify is a fully-hosted platform that allows you to set up your store quickly. It offers various templates and customization options, making it ideal for beginners.
WooCommerce: If you have a WordPress website or prefer to use WordPress, WooCommerce is an excellent choice. It’s a free WordPress plugin that enables you to turn your existing website into a fully functional e-commerce store.
Rentle: Rentle is the ultimate all-in-one rental software designed to streamline your rental business and fuel your growth. With easy-to-use yet powerful functionalities, Rentle enables you to create a rental website, automate inventory management, and effortlessly rent, subscribe, and sell your products along with additional services.
Get started Rentle for free and choose your plan later
Step 3: Register a Domain and Choose Hosting
Once you’ve chosen your e-commerce platform, it’s time to register a domain name. Select a domain that is easy to remember and relevant to your business. Many e-commerce platforms offer domain registration services.
Next, choose a hosting provider that supports your selected e-commerce platform. Many platforms provide hosting services as part of their packages, which can streamline the process.
Step 4: Design Your E-commerce Website
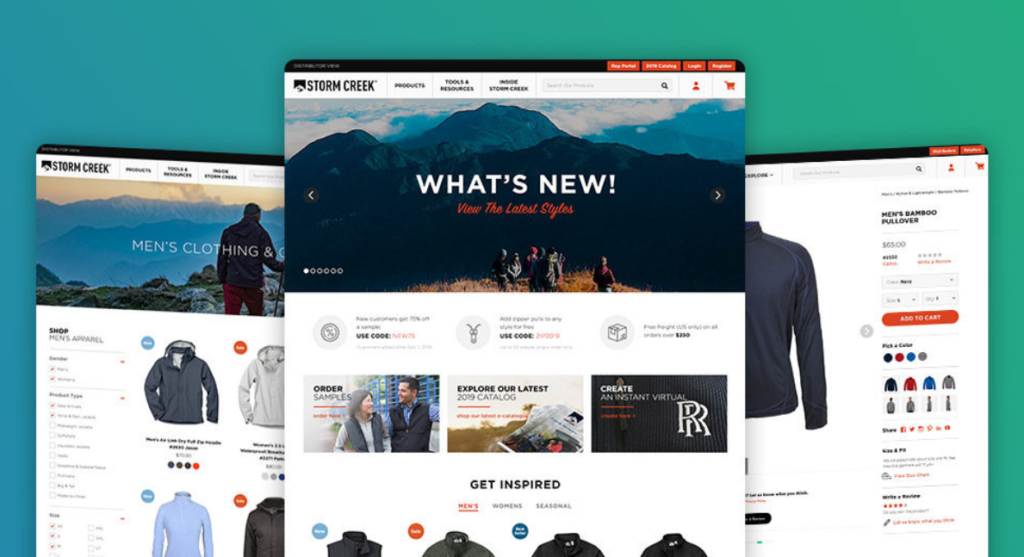
The design of your online store plays a crucial role in attracting and retaining customers. Most e-commerce platforms offer a wide range of professionally designed templates that you can customize to match your brand.
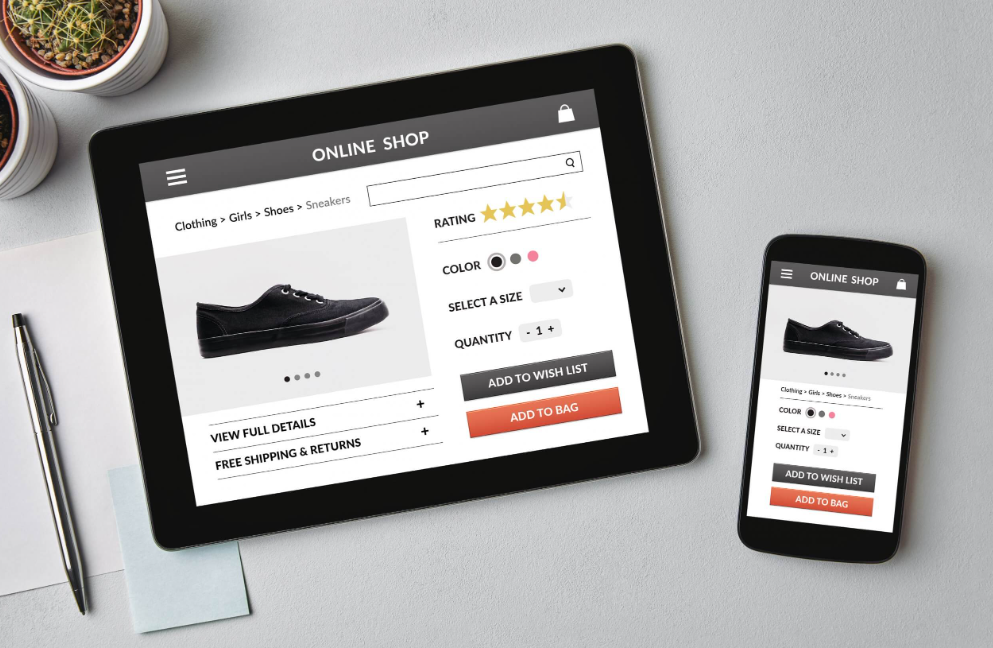
Theme Selection: Choose a theme that aligns with your products and brand identity. Look for themes that are mobile-responsive to ensure your website looks great on all devices.
Branding: Incorporate your logo, color scheme, and brand elements throughout the website to establish a cohesive and memorable brand identity.
Navigation: Ensure your website’s navigation is simple and intuitive, allowing visitors to find products with ease.
Product Pages: Create visually appealing product pages with high-quality images and detailed descriptions. Make it easy for customers to add items to their carts and proceed to checkout.
Step 5: Set Up Payment Gateways and Shipping Options
To accept payments on your e-commerce website, you need to set up payment gateways. Popular options include PayPal, Stripe, and Square. Check if your chosen e-commerce platform supports your preferred payment methods.
Additionally, configure your shipping options, such as the regions you ship to, shipping rates, and estimated delivery times. Many platforms have integrated shipping solutions to simplify this process.
Step 6: Add Products and Content
Now that your website’s basic structure is set up, it’s time to add your products and create compelling content.
Product Upload: Use the platform’s product management tools to add your products, including images, prices, and variations (if applicable).
SEO Optimization: Optimize product descriptions and other content with relevant keywords to improve your website’s search engine visibility.
About Us and Contact Pages: Create an engaging “About Us” page that tells your brand’s story and builds trust with potential customers. Include a contact page with your business details for inquiries and support.
Step 7: Test Your Website
Before launching your e-commerce website, thoroughly test all its features and functionalities. Conduct test purchases to ensure the payment gateways are working correctly. Check the responsiveness of the website on different devices and browsers. Rectify any issues you encounter during testing.
Step 8: Launch Your E-commerce Website
Congratulations! Your e-commerce website is now ready to go live. Launch your website and start promoting it through various marketing channels, such as social media, email campaigns, and search engine optimization (SEO).
Conclusion
Creating an e-commerce website has never been easier, thanks to the abundance of user-friendly platforms available. By following this step-by-step guide, you can have your online store up and running in no time. Remember to define your e-commerce strategy, choose the right platform, design a user-friendly website, and optimize your products and content. With a compelling online store, you’ll be well-positioned to take advantage of the vast opportunities in the digital marketplace.


KhbsJBMwxLV